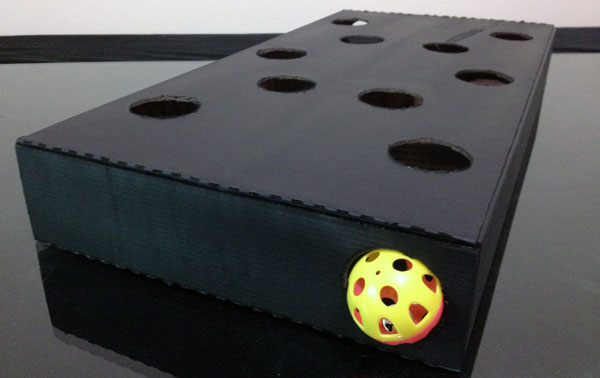
This cat toy is simple to make and loved by cats everywhere. Place a toy or treat into the box and then your cat must then reach into the holes to maneuver the prize to an exit hole.
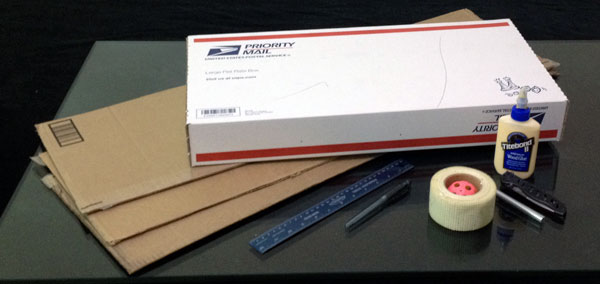
Materials:
- A Cardboard Box: The dimensions of depend on the toy you wish to place inside of it. A long, flat box with just enough height to allow the toy or treat to roll freely is ideal. Priority Mail Large Flat Rate Boxes should work for most toys.
- Extra Cardboard: We will be placing a cardboard wall in the center of the box to increase the toy’s strength and to break it into two separate chambers.
- A Ruler
- A Pen
- Glue: Wood glue works the best, but any craft glue should be fine.
- A Cat Toy + Something with a hole slightly larger than the toy, which you can use to trace holes onto the box with.
- A Box Cutter
- An Exacto-Knife
Instructions:
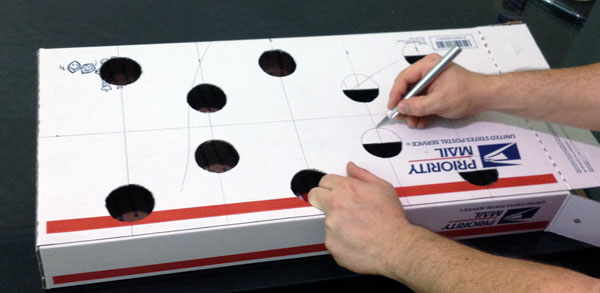
Step 1: Draw a line through the center of the box long-ways, then draw intersecting lines through it every 4 inches as shown in the pics below.
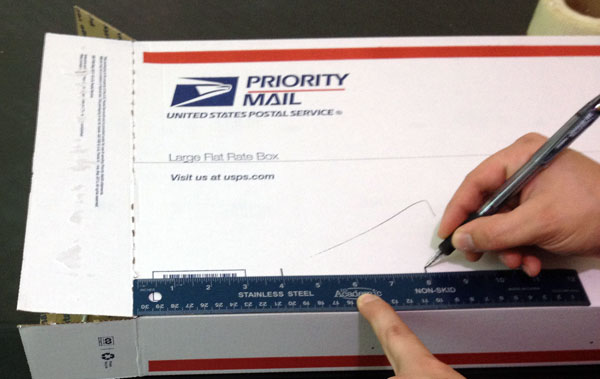
The center line is where the interior brace/wall will go, and the perpendicular lines are where we will cut the holes.
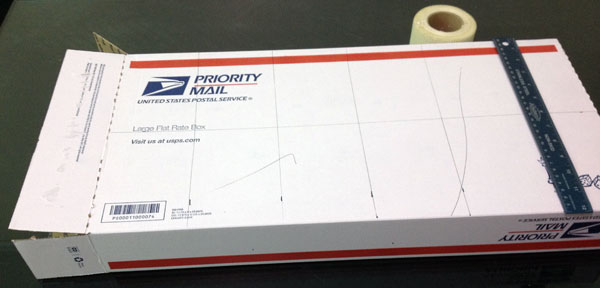
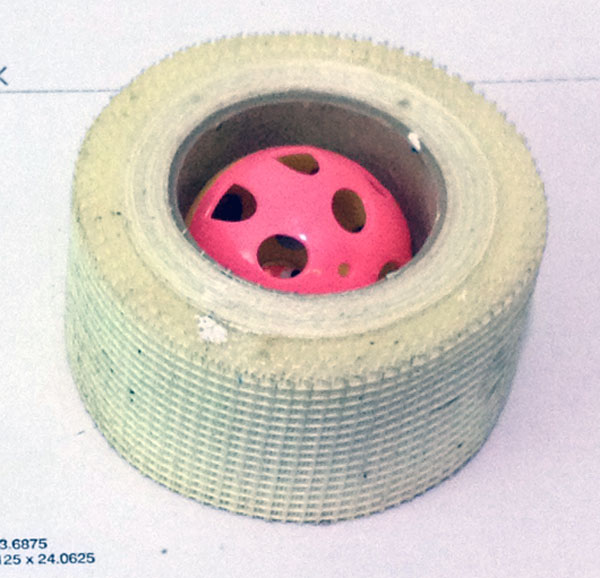
Step 2: Using your hole guide (I used the inside of a roll of drywall patch tape), draw staggered circles along the lines you just drew. Be careful to avoid placing a hole on the long center line, because there will be an internal wall there.
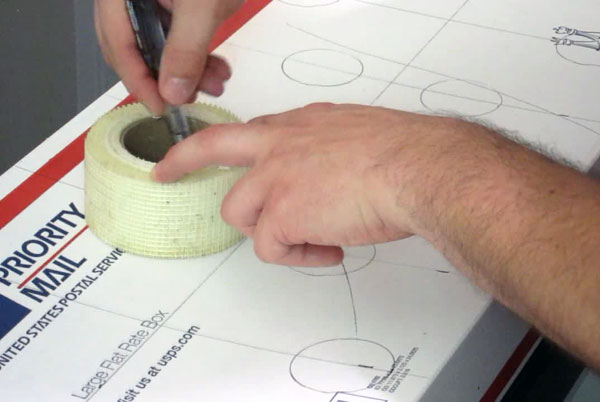
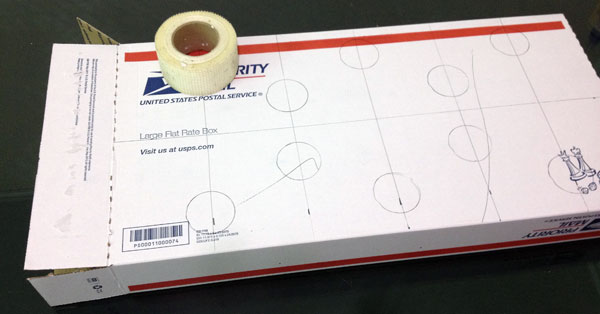
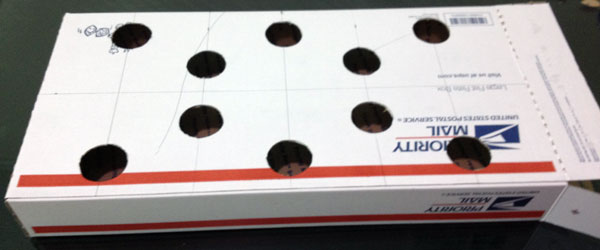
Step 3: Using the exacto-knife, cut out the circles you just drew.
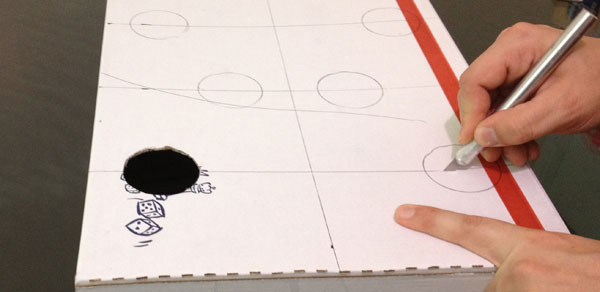
When you’ve cut them all out, it should look something like this:
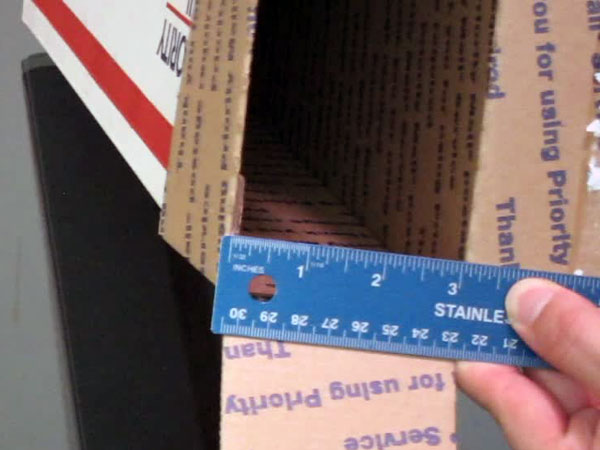
Step 4: Now we will make the inside wall/brace. Measure the interior of the box to find the length and the height of the insert you need. The Priority Mail box which I am using requires a 3″ x 24″ insert.
Step 5: Depending on the strength of the box you have chosen, and the thickness/ply of the cardboard inserts you are using, you might want to cut out several of the same size and then glue them together to a single, super-strong insert, as I have done below. The one I made was five layers thick, but you can use more or less, depending on the strength of the box and the weight of your cat. Make your brace thick enough so that the box will can support your furry friend when they’re playing with (on) it.
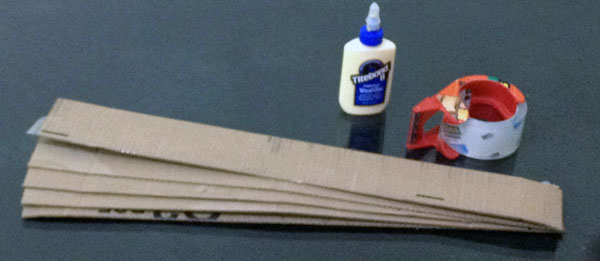
I used wood glue, and then taped the stack tightly together, but any glue should work.
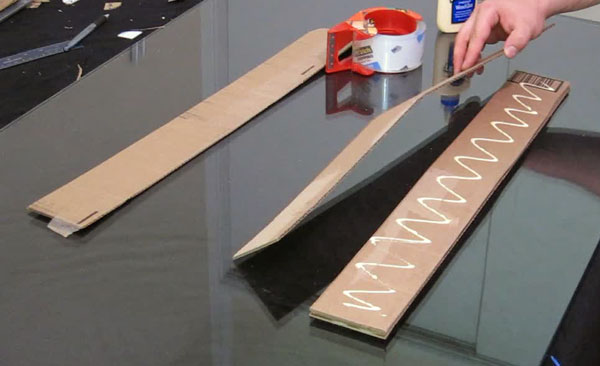
Step 6: Test-fit the insert into the box to make sure it fits nice and snug. Make adjustments if needed.
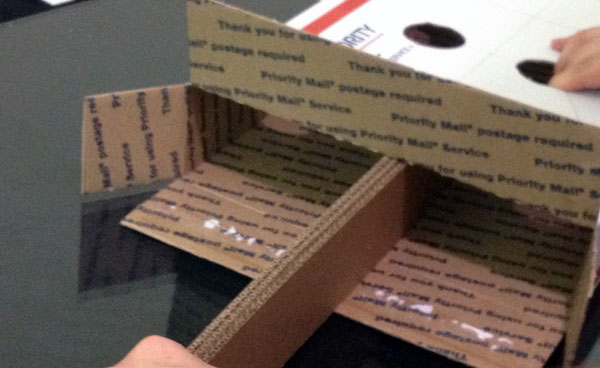
Step 7: Apply glue to the top and bottom of the insert, and place it inside the box.
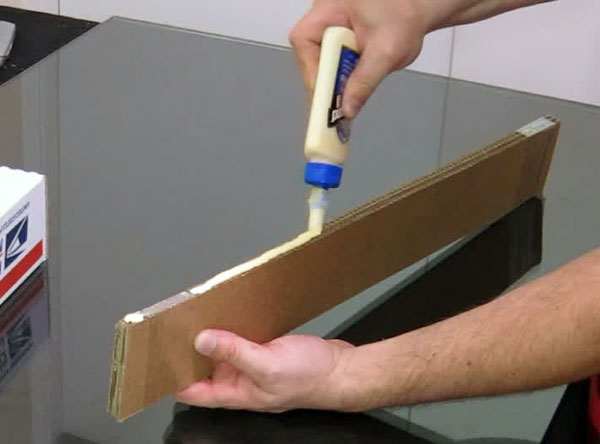
This step will get messy. Don’t worry if you end up smearing the glue as you slide the insert into place, no one will see the inside of the box once it’s assembled, and the dried glue won’t pose a hazard to your cat.
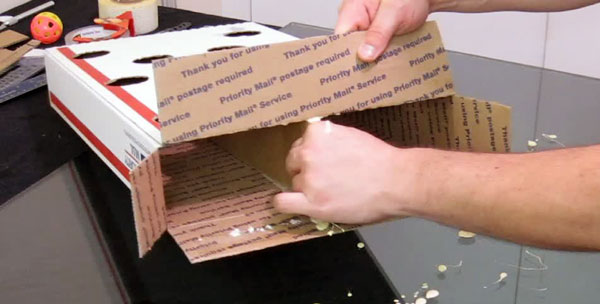
Insert your fingers through the holes to help move the insert into position at the far end of the box.
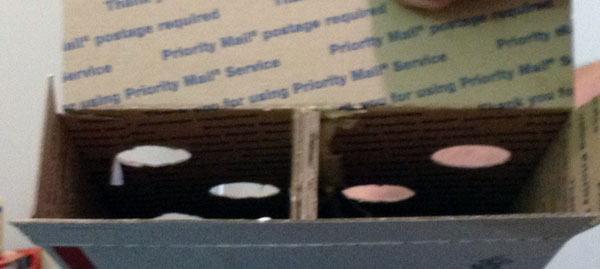
Step 8: Draw and cut some holes for your kitty to push the toy or treat out of the box. In this example I’m just making one hole on each side, but you can place as many as you like.
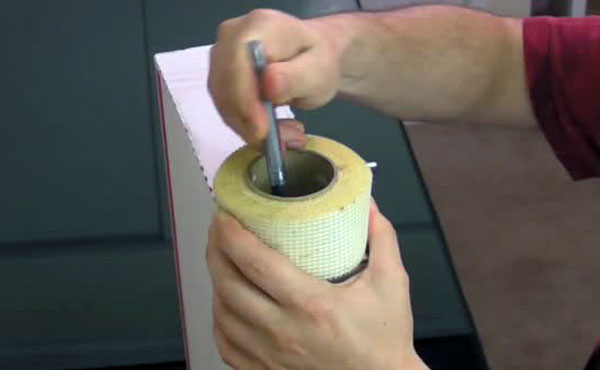
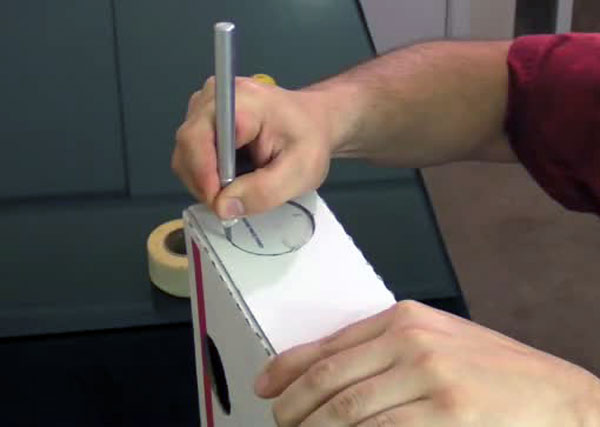
Step 9: If you’re holes are a little rough or a too small, you can smooth them out a bit with fine-grit sandpaper. Paint can also be applied to make the box less of an eye-sore. I used a product called “Plasti-Dip” (Check your local hardware store and get the one that comes in an aerosol can) because it has a rubberized texture that will keep the box from sliding around on the floor. That’s it! You’re done! Enjoy!

